Identifying and Assessing Mold Growth

Mold growth in bathrooms is a common issue, particularly in areas with high humidity and moisture. Identifying and assessing mold growth is crucial for addressing the problem effectively and preventing further damage and health risks.
Types of Mold
Mold is a type of fungus that thrives in damp environments. Different types of mold have varying appearances and can pose different health risks. Some common types of mold found in bathrooms include:
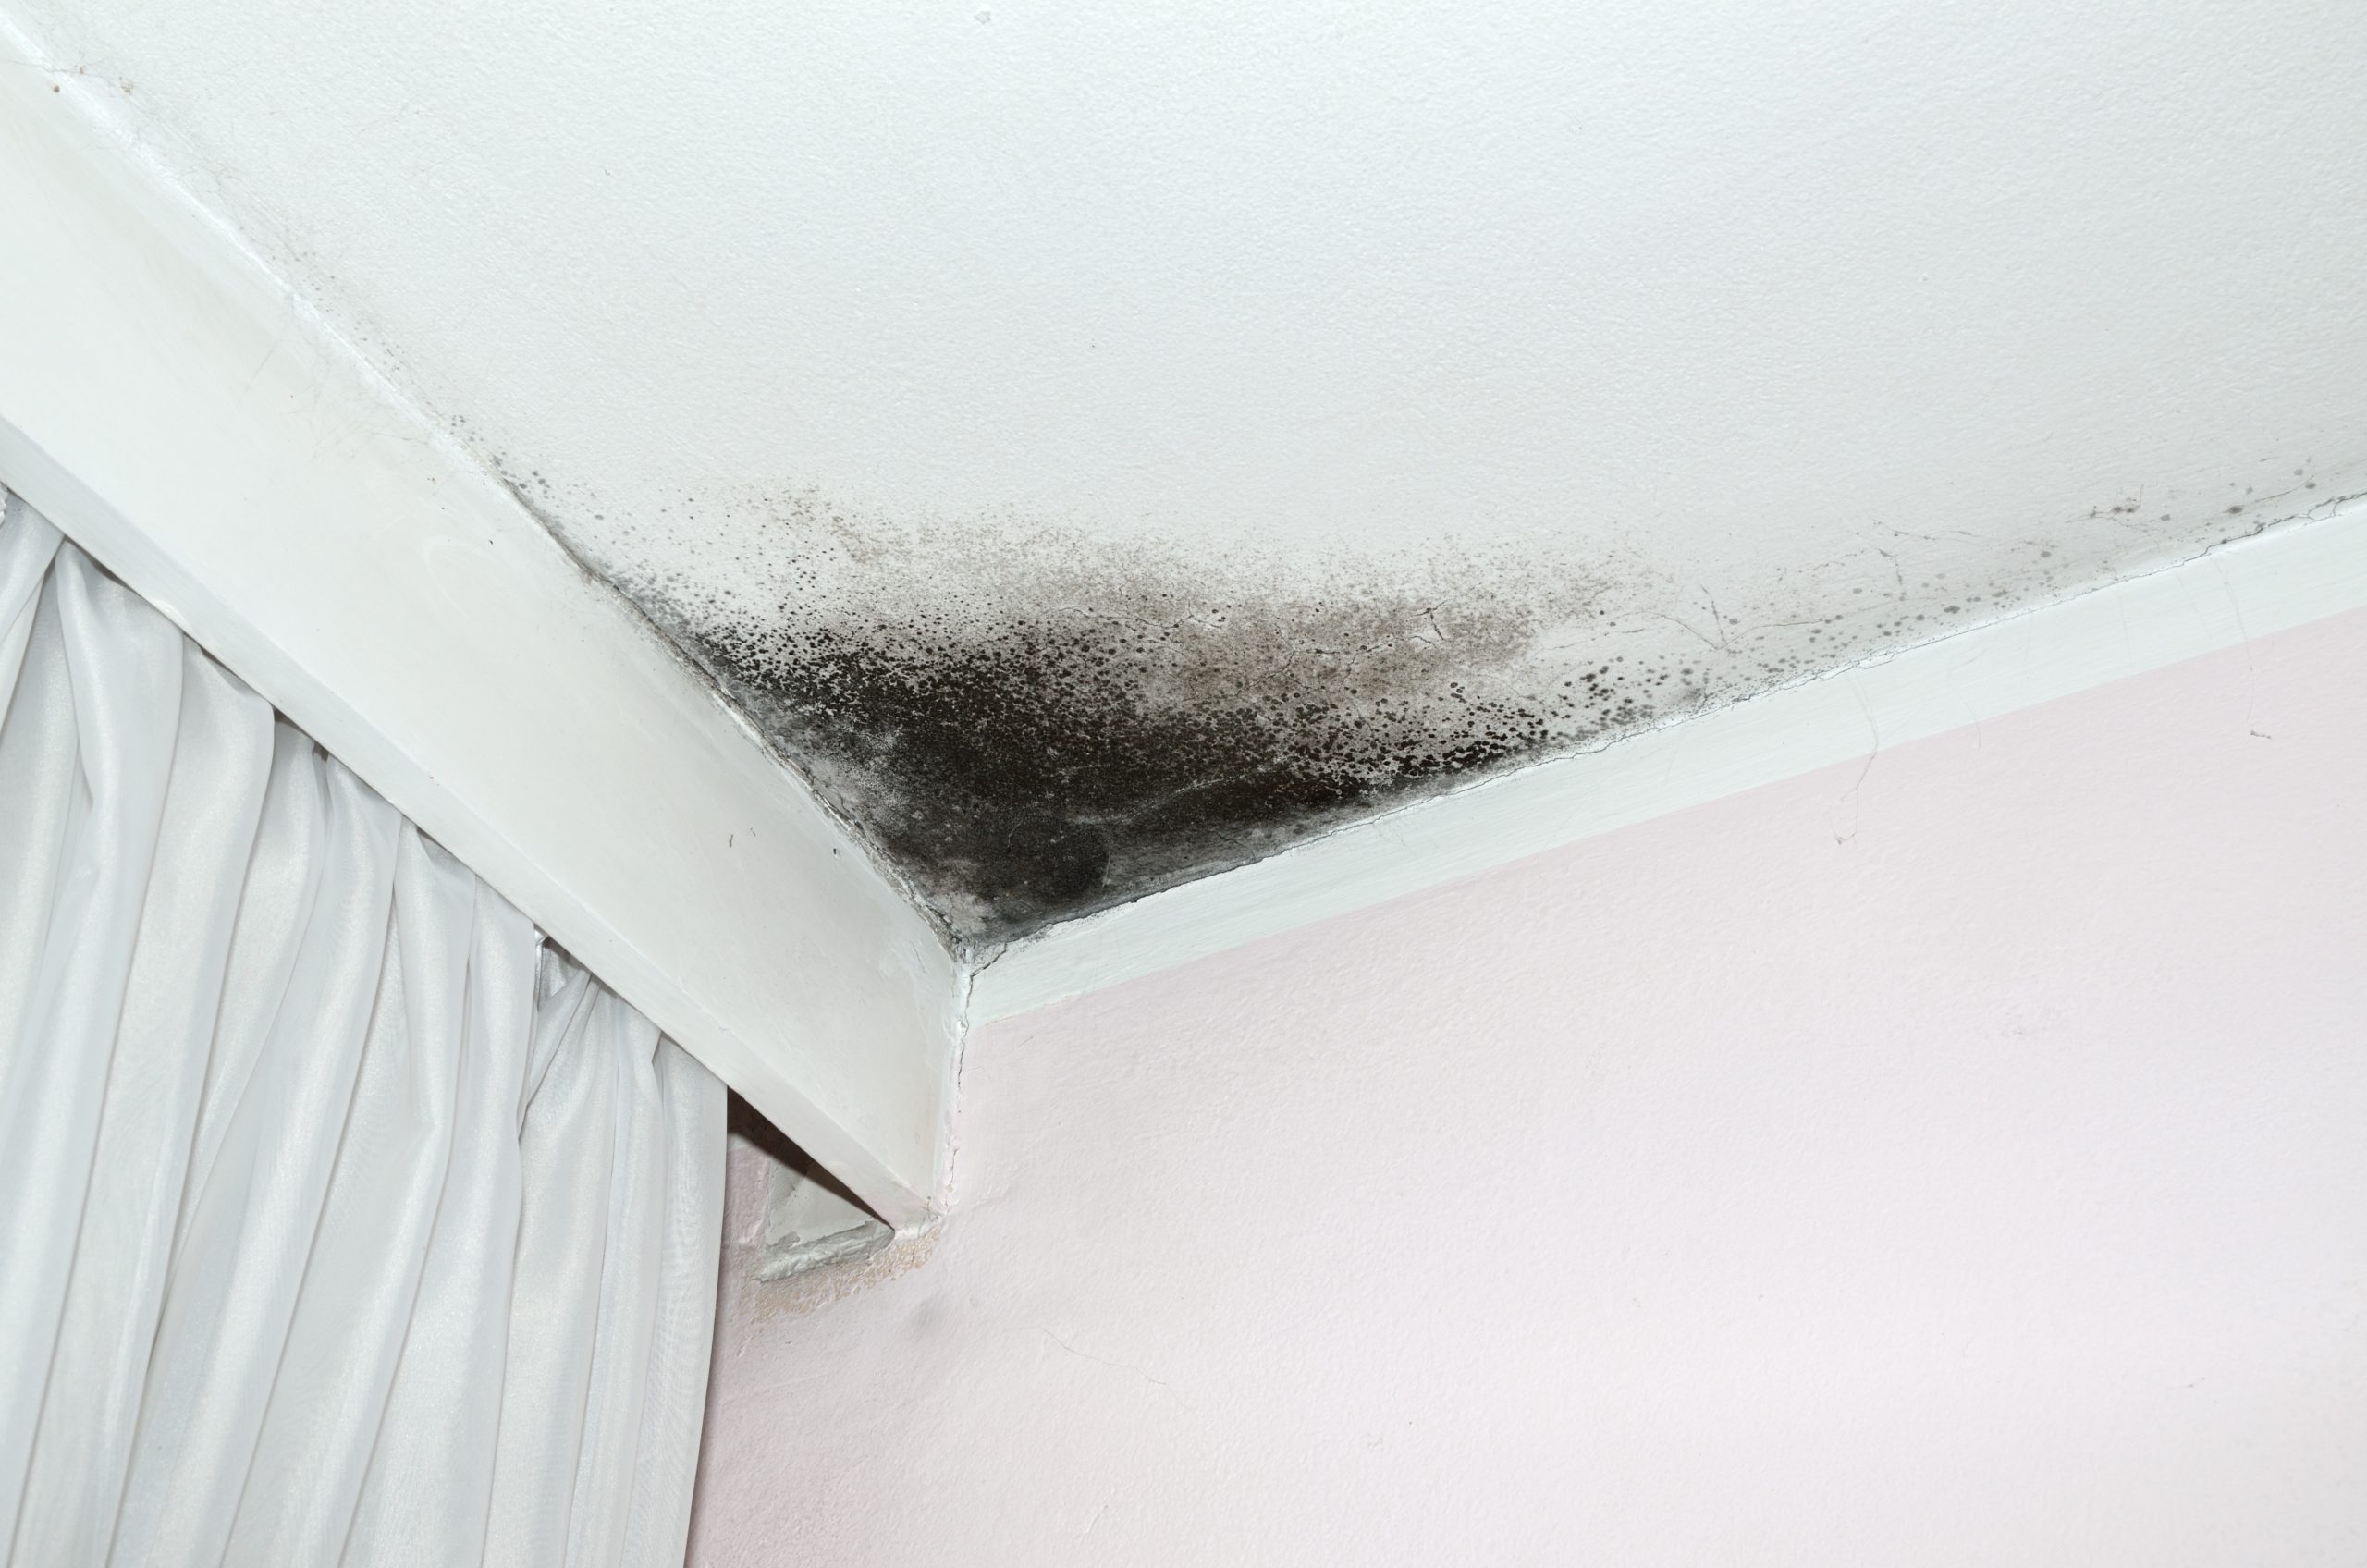
- Black Mold (Stachybotrys chartarum): This mold is often black or dark green and has a slimy texture. It can release mycotoxins, which are harmful substances that can cause respiratory problems, allergies, and other health issues.
- Aspergillus: This mold is typically white, gray, or green and can grow in various forms, including fuzzy patches or powdery coatings. Aspergillus can cause allergic reactions and respiratory problems.
- Penicillium: This mold is commonly found in bathrooms and often appears as blue-green or greenish-yellow patches. It can produce allergens and mycotoxins, potentially leading to respiratory issues and skin irritations.
Identifying Mold Growth
Mold growth can be identified through visual inspection and other signs:
- Visual Inspection: Carefully examine the bathroom ceiling for any discoloration, patches, or fuzzy growths. Mold can appear in various colors, including black, white, green, gray, or brown. Look for signs of water damage, such as peeling paint or warped ceiling tiles.
- Musty Smell: Mold often emits a distinctive musty or earthy odor. If you notice this smell, especially in conjunction with visual signs of mold, it’s a strong indicator of mold growth.
- Allergy Symptoms: If you or someone in your household experiences allergy symptoms, such as sneezing, coughing, itchy eyes, or a runny nose, particularly after spending time in the bathroom, it could be related to mold exposure.
Health Risks of Mold Exposure
Exposure to mold can pose health risks, particularly for individuals with respiratory problems, allergies, or weakened immune systems.
Mold can trigger allergic reactions, causing symptoms like sneezing, coughing, itchy eyes, and a runny nose. It can also worsen existing respiratory conditions like asthma. In some cases, exposure to mold can lead to more serious health problems, including respiratory infections, skin irritations, and neurological issues.
It is essential to remove mold growth promptly and thoroughly to mitigate these risks.
Preparing the Bathroom Ceiling for Painting

Before you start painting, it’s crucial to properly prepare the bathroom ceiling to ensure a smooth and long-lasting finish. This involves removing the mold, cleaning the surface, and creating a suitable base for the paint to adhere to.
Safety Precautions
Working with mold requires taking necessary precautions to protect yourself from potential health risks. Mold spores can trigger allergies and respiratory problems, so wearing protective gear is essential.
- Wear a respirator mask: This will prevent you from inhaling mold spores. Choose a mask with a N95 or higher rating, as these are designed to filter out small particles.
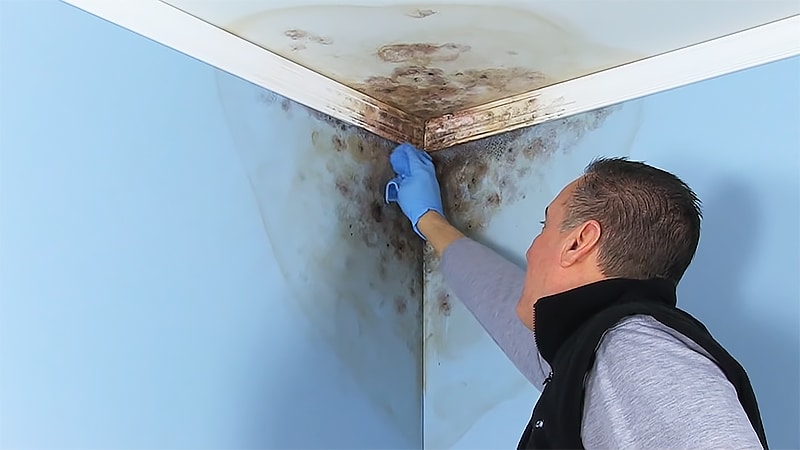
- Use gloves: Wear rubber or nitrile gloves to protect your skin from contact with mold and cleaning solutions.
- Protect your eyes: Wear safety goggles to prevent any cleaning solutions or mold spores from getting into your eyes.
- Ventilate the area: Open windows and doors to allow fresh air to circulate and help remove mold spores from the bathroom.
Cleaning and Removing Mold
Once you’ve donned your protective gear, you can begin cleaning and removing the mold. This involves removing any loose mold growth and then disinfecting the affected area.
- Remove loose mold: Use a scraper or a wire brush to gently remove any loose mold growth from the ceiling. Be careful not to damage the ceiling surface.
- Clean the mold: There are several effective methods for cleaning mold, including:
Bleach Solution
A bleach solution is a common and effective way to kill mold. Mix one part bleach with ten parts water in a spray bottle.
Important: Always wear protective gear when using bleach and ensure proper ventilation.
Apply the solution to the affected area, let it sit for 10-15 minutes, and then scrub it with a brush. Rinse the area thoroughly with clean water and allow it to dry completely.
Mold-Killing Spray
Several commercially available mold-killing sprays can effectively eliminate mold. Follow the instructions on the product label carefully.
Important: Some sprays may require a specific dwell time before rinsing, so check the product instructions.
Apply the spray to the affected area, let it sit for the recommended time, and then scrub it with a brush. Rinse the area thoroughly with clean water and allow it to dry completely.
Preparing the Ceiling for Painting
After removing the mold, you need to prepare the ceiling for painting. This involves cleaning the surface and ensuring it’s smooth and dry.
- Clean the ceiling: Once the mold is removed, use a damp cloth to wipe down the entire ceiling, removing any remaining dirt or debris.
- Prime the ceiling: Apply a primer to the ceiling to create a smooth surface and help the paint adhere properly. Choose a primer specifically designed for mold-resistant surfaces.
- Allow the primer to dry completely: Follow the drying time instructions on the primer label before proceeding with painting.
Necessary Materials and Tools, Painting over mold on bathroom ceiling
To prepare the bathroom ceiling for painting, you’ll need the following materials and tools:
- Cleaning supplies: Bleach, mold-killing spray, spray bottle, cleaning cloths, bucket, and water.
- Mold removal tools: Scraper, wire brush, and a dustpan.
- Painting supplies: Primer, paint, paint brushes, paint roller, and a drop cloth.
- Protective gear: Respirator mask, gloves, and safety goggles.
Painting Over Mold on the Bathroom Ceiling: Painting Over Mold On Bathroom Ceiling

After thoroughly preparing the bathroom ceiling, the next step is to apply a mold-resistant paint. This is crucial to prevent the mold from reappearing and to ensure a clean and healthy environment.
Using Mold-Resistant Paint
Using a paint specifically designed for bathrooms and formulated to resist mold growth is essential. These paints contain special additives that inhibit mold spores from growing and spreading. They create a barrier that prevents moisture from penetrating the surface, reducing the chances of mold developing.
Applying Mold-Resistant Paint
- Proper Preparation: Ensure the ceiling is completely dry and clean before applying the paint. Any remaining dust, dirt, or loose particles can hinder the paint’s adhesion.
- Techniques for Applying the Paint: Use a high-quality paint roller for even coverage. Apply thin, even coats, allowing each coat to dry completely before applying the next. This ensures proper adhesion and prevents drips. For corners and edges, use a small brush to reach difficult areas.
- Drying Time: Allow sufficient drying time between coats as specified by the paint manufacturer. This typically ranges from 2 to 4 hours. Overlapping wet edges can lead to uneven coverage and streaks.
Achieving a Smooth and Even Finish
- Smooth Application: Use a paint roller with a nap length appropriate for the texture of the ceiling. A longer nap roller is suitable for textured ceilings, while a shorter nap roller works well for smooth surfaces.
- Even Coverage: Apply thin coats to avoid drips and runs. Rolling in a “W” pattern can help ensure even coverage and minimize streaks.
- Adhesion: To improve paint adhesion, use a primer specifically designed for mold-resistant surfaces. This creates a smooth and uniform base for the paint to adhere to.
Types of Mold-Resistant Paints
| Type | Pros | Cons |
|---|---|---|
| Acrylic Latex Paint | Durable, washable, low VOC, dries quickly | May require multiple coats for full coverage |
| Epoxy Paint | Highly resistant to moisture, mold, and mildew, durable | Can be difficult to apply, may require specialized tools |
| Oil-Based Paint | Provides a durable and long-lasting finish | Higher VOC content, slower drying time, may require special cleaning agents |
Painting over mold on bathroom ceiling – Painting over mold on a bathroom ceiling is a temporary fix, as the moisture that caused the mold will likely return. To prevent future growth, consider addressing the source of the moisture, such as a leaky pipe or inadequate ventilation.
When choosing a paint for your bathroom, it’s important to select one that can withstand the humidity. Should bathroom paint be semi-gloss ? This is a good question to consider, as semi-gloss paints are more resistant to moisture and easier to clean.
Ultimately, choosing the right paint can help protect your bathroom ceiling and keep it looking its best.
Painting over mold on a bathroom ceiling requires a specific approach. First, you need to thoroughly clean the affected area with a mold-killing solution. Once the mold is eradicated, you can apply a primer specifically designed for mold-prone surfaces.
Before you begin, be sure to gather all the necessary supplies, including brushes, rollers, drop cloths, and paint. A comprehensive guide on the supplies needed to paint a bathroom will ensure you have everything you need. After applying the primer, you can finally paint the ceiling with a mildew-resistant paint for a long-lasting finish.